Guides
A planning checklist for turning a spare room into a pottery studio
Plan a home pottery studio around clay, glaze and kiln plus a drying shelf, three stages that decide ventilation, storage and where the wheel can sit.
A spare room holds three processes: forming clay, glazing, and firing. Each one puts something different into the air. Settle what the room does at each stage before you decide where the wheel sits.
What to take away
- Dry clay is the silica exposure. Mixing and dry sweeping put it in the air; wet clay does not.
- Kiln fumes need a duct to outside air, not a room fan.
- An N95 is the floor, not the plan.
- Write the studio rules before the first firing, including who is allowed to fire.
- Sequence the build from the kiln outward, or the one legal kiln spot ends up full of shelving.
Start from what each stage releases
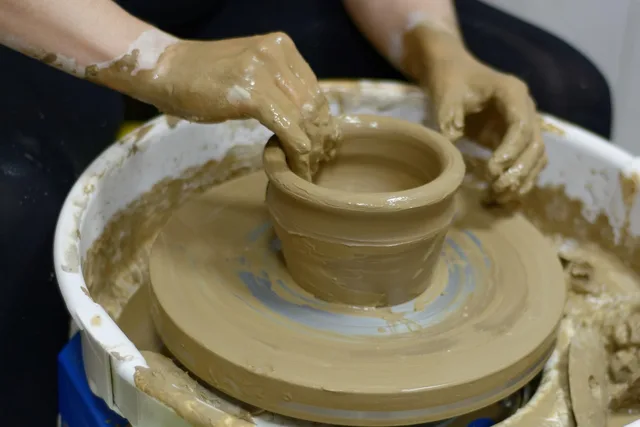
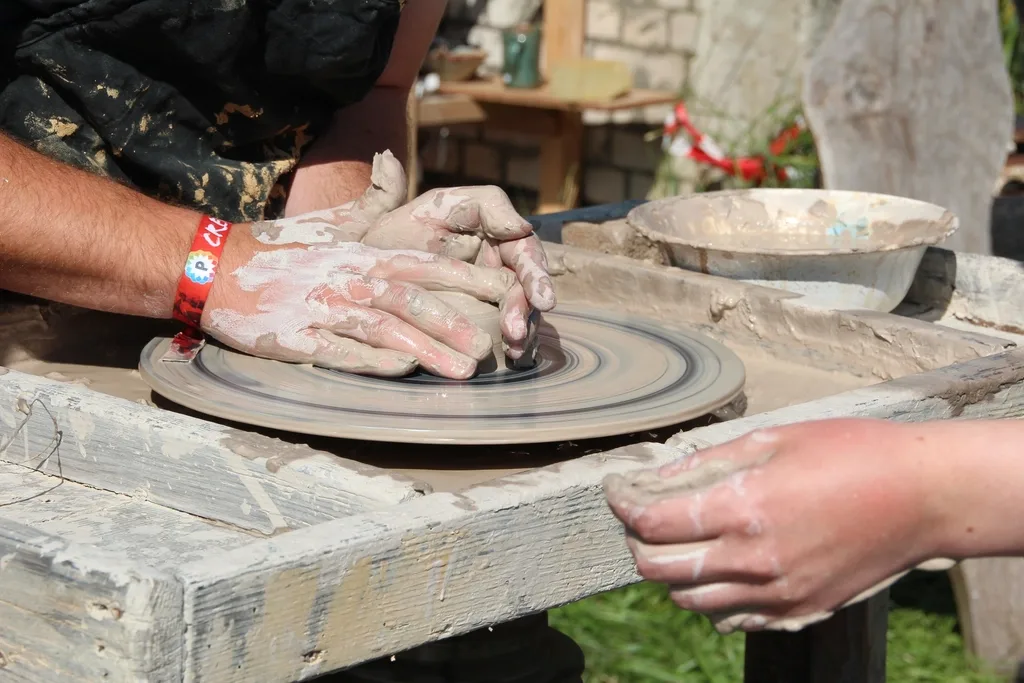
An industrial hygienist's guide to art studio safety sorts ceramics hazards by activity rather than by equipment. Mixing dry clay is the silica exposure. Wet clay brings mold and repetitive strain at the wheel.
Hazards by Studio Stage
Stage
- Mixing dry clay
- Silica dust
- Wet clay at wheel
- Mold, repetitive strain
- Glazing
- Toxic metal colorants
- Firing
- Carbon monoxide, sulfur oxides, metal fume
Hazard released
- Mixing dry clay
- Wet clay at wheel
- Glazing
- Firing
Glazing brings metal colorants, some of them highly toxic. Firing releases carbon monoxide, sulfur oxides and metal fume, and electric kilns do it as well as fuel-fired ones. Only one of those three stages happens at the wheel, so a plan that starts with wheel placement has skipped most of the problem.
Ventilation first, respirator second
Ventilation takes the hazard out of the room. A respirator keeps it out of one pair of lungs while the room fills. So the plan asks in order: can this be done wet, can it be done outside, can it be captured at the source, and only then, what does the person wear.
Ventilation Before Respirator
Can this be done wet?
do it wet, no dust
can it be done outside?
Three requirements follow. A kiln needs local exhaust ducted to outside air. Weighing dry material needs capture at the point of work, a booth or an exhausted table, not a fan across the room. And the room has to be cleanable with water.
The kiln manual sets the clearances, and it overrides any number here. A common spec is 12 to 18 inches of air space to a combustible wall, and 24 inches of clear floor in front for loading.
Duct size comes with the vent kit. A typical downdraft vent moves air in the low hundreds of cubic feet per minute, so keep the run short and end it outside.
Room size decides the layout. Roughly 100 to 120 square feet, or a 10 by 12 foot room, holds a wheel, a wedging table, a small kiln, glaze storage and a drying shelf. Under about 80 square feet, treat the kiln as the item that does not fit.
Write the studio rules down early
Teaching studios publish theirs, and the same rules carry into a spare room. A published set of ceramics studio guidelines requires an N95 while clay is being made and filtration running before mixing starts.
Cleanup calls for damp sponges, never a dry broom. Gloves and eye protection are for glaze mixing. Safety data sheets stay on file for every chemical in the room.
At home, the short version is enough:
| Rule | Why it exists |
|---|---|
| N95 while mixing or dry sweeping | Stops respirable silica |
| Damp sponge, no dry broom | Lifts settled silica into the air |
| Gloves and eye protection for glaze mixing | Metal colorants enter through skin and eyes |
| SDS on file for every chemical | Names hazards and first aid |
| Who may fire, written down | Firing can burn the building down |
Home Studio Rules
- No dry sweeping, ever
- Gloves for every glaze operation
- Nothing fires without a written schedule
- Labels stay on containers
- No food or drink in the room
Sequence the build from the kiln outward
Confirm the supply and the vent path first. Place the kiln, then put glazing where its ventilation reaches, then wet work near water, and fit storage into whatever is left. The reverse order produces the common failure: the only legal spot for the kiln is already full of shelving.
Build Order From the Kiln
- Confirm supply and vent path
- Place the kiln
- Put glazing where ventilation reaches
- Put wet work near water
- Fit storage into what is left
Storage is not an afterthought. Decide early where materials will live, because dry powders, wet clay and finished ware each want different conditions, and the equipment list follows from that. Only then is it worth working out which tools to buy.
Where the plan usually fails
In Canada, a British Columbia winter cracks greenware near a cold wall. In the US, a garage studio does the same when the slab stays cold and the house air is warm and dry. Either way it belongs in the budget as a line, not a surprise.
Glaze that reads one colour in the bucket reads another in daylight, so photograph finished work under the light you will sell it in.
Underfiring and crazing both trace back to a schedule nobody wrote down.
Costs are knowable before the first firing. Treat these as typical ranges, not quotes.
| Line | Typical range | What sets it |
|---|---|---|
| Clay, 25 lb bag | $25 to $50 | Body, cone, shipping |
| Electricity per firing | 10 to 25 kWh | Size, load, hold time |
| Kiln vent kit | $250 to $600 | Type, brand, duct run |
| 240 V circuit | $400 to $1,500 | Panel, run length, labour |
Count overhead separately from direct cost so a firing's real price is visible. In Canada, clay and power carry GST or HST; in the US, sales tax varies by state.
None of this is a licence to install anything yourself. Kiln wiring, gas, venting and structural work go to a licensed electrician or installer, under NFPA 70 in the US and CSA C22.1 in Canada.
Glaze waste goes to county household hazardous waste collection, not the drain. Ask your state air agency before you fire for sale at volume; EPA rules target commercial shops.
Selling, permits and landlord rules go to a lawyer, an accountant or your craft guild, state in the US, provincial in Canada. Silica, glaze toxicity and ventilation design go to a physician or industrial hygienist.
Your local building, fire and electrical authority has the final word on the room.
Common questions
How much of this applies if I only hand build?
Most of it. Hand building still makes dust at trimming and cleaning, still uses glaze, and still needs firing. The wheel is the part you can skip, not the hazards.
Can I plan around an existing extractor fan?
Only if it captures at the source. A room extractor does not count.
Do I need safety data sheets for hobby materials?
Keep them. They are free from the supplier and they name the hazardous components behind a product label.
What if I cannot vent to outside air at all?
Then do not put a kiln in that room. The realistic options are firing elsewhere, or moving the kiln somewhere a duct run exists.
In this guide
- Six questions to ask a pottery studio before joining a class or membershipA framework for choosing between a pottery class and a studio membership: what to check in the studio, six questions to ask, and how the two options differ.
- Hand tools compared with machines for a first-time pottery buyerPottery tools for first-time buyers: no products were tested, so no rankings appear. Instead, what each class of pottery tool and machine actually does.
- Why can a weekend of pottery studio practice only finish one form?Two days of pottery practice that respect how slowly clay dries: what to make, what to skip, and what has to wait until the following weekend.
- Storing wet clay, dry chemicals and fired work in a home pottery studioWet clay, dry chemicals, and fired work each fail differently: double bag clay, label and date every powder, and pad fired ware on covered shelves.