Guides
Part of Choosing a beginner pottery wheel: 6 features to check
Beginner pottery wheels: how to photograph finished pots
Beginner pottery wheels: how to photograph finished pots with one overhead light, a curved sweep, fixed white balance, and consistent records.
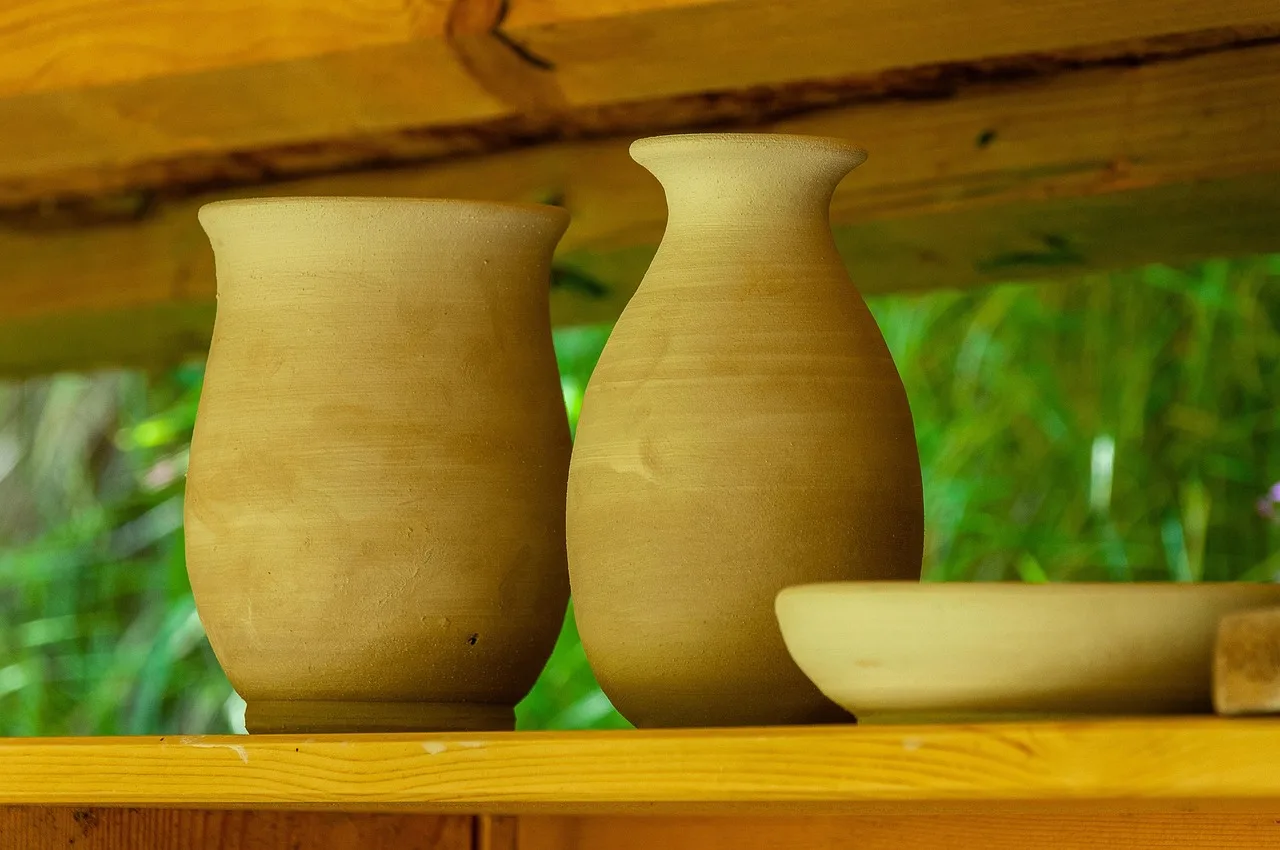
For beginners learning on pottery wheels, here's how to photograph a finished pot after firing and glazing. A thrown pot is a hard photographic subject. It is round, so it has no flat plane to catch light. It is glossy, so it mirrors the room. Its glaze color is the one thing you most need to record accurately.
What to take away
- One light, overhead and slightly to the side, beats two lights for a thrown pot.
- A curved sweep removes the horizon line behind the piece.
- Fix white balance from a gray card in the same light, or the glaze colour will read false.
- Photograph the base of every batch; the foot shows trimming, glaze coverage and wobble.
- Put dimensions in the caption. Props that imply scale mislead a buyer.
One overhead light, and where to put it
The instinct is to add light until the pot looks bright. That flattens it. A college art department guide to documenting three-dimensional work recommends a single overhead light against a gradient backdrop for small work, and warns against a second source unless it is genuinely needed.
For a thrown pot the single overhead light is usually right. It drops a shadow under the base, which grounds the piece, and the gradient down the side describes the curve. A second light at the same intensity erases that gradient and the pot reads as a flat disc.
Set the light above and slightly to one side. Put a white card opposite the light to lift the shadow side without adding a second source.
Background, camera and framing
A separate art school guide to documenting a portfolio is blunt about the basics, and they are the steps people skip. Keep the background plain and neutral: white, gray or black. Attach paper or fabric to the wall and curve it down onto the table so no line crosses behind the pot.
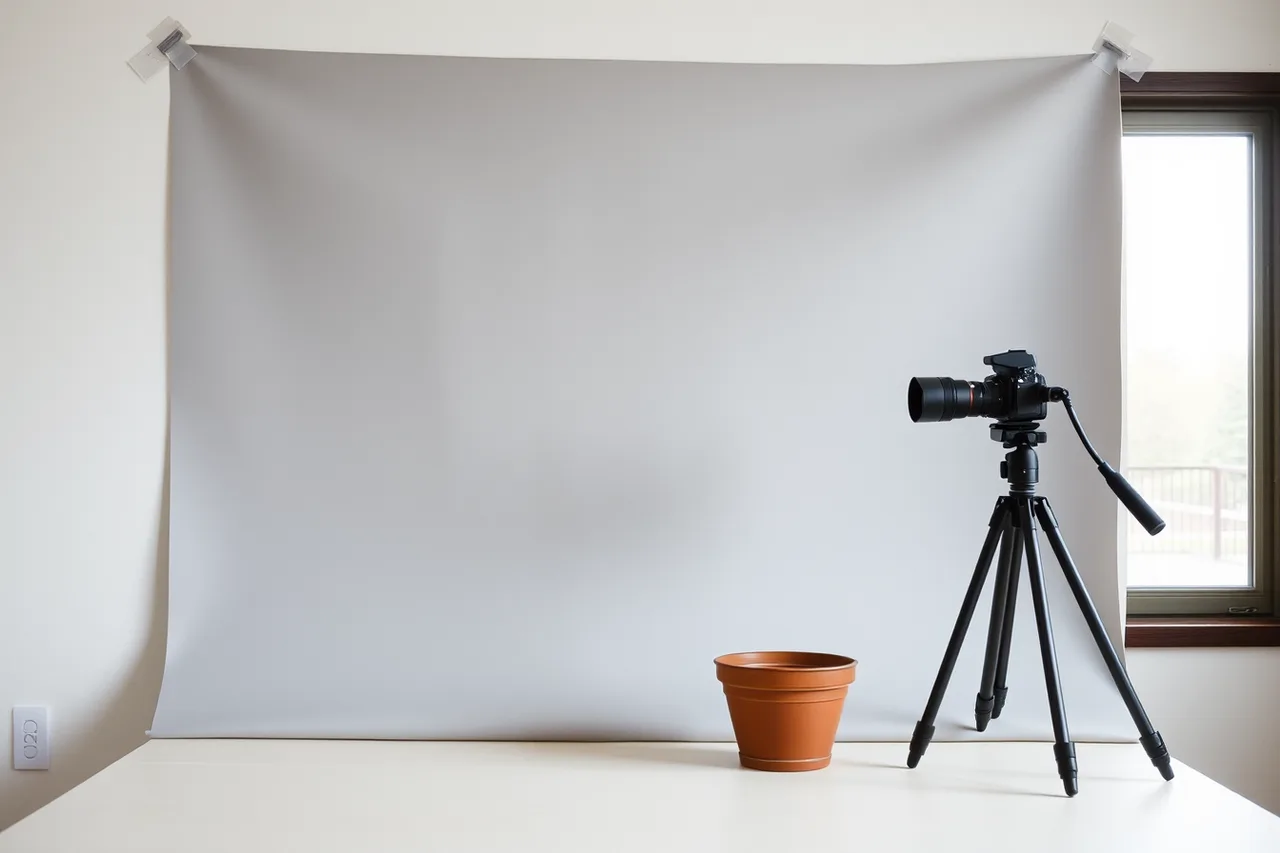
Use a tripod. The guide calls it an inexpensive tool that makes a big difference, which is true for a round, glossy object that punishes any camera shake. Set the lens at roughly the height of the pot's widest point and keep the piece parallel to the frame.
Diffused daylight near a window works well. Camera flash does not.
The working sequence
- Set the sweep and place the pot near the front edge of the curve, where the backdrop bends.
- Mount the camera on a tripod at the height of the pot's widest point.
- Set one light above and slightly to one side, then stand a white card opposite it.
- Shoot a gray card in that light and fix the white balance from it before touching the pot.
- Shoot three angles plus one detail of the glaze surface.
- Check crop, straightness and colour on the screen before you move anything.
Shoot a whole batch in one setup. Consistency across a set matters more than one perfect frame, and a set is easier to photograph when the work was made as a run of one small form.
Photograph the base
Add a shot of the foot to every batch. The base records trimming marks, how far the glaze ran, whether the pot sits flat, and the clay body where it is unglazed. None of that shows in a three-quarter view.
File that image beside the firing record. A photograph of each fired batch, kept with the notes on what went into the kiln, is how a home potter builds a usable history of a glaze or a clay body.
Presenting the work honestly
Two things make a set of pottery photographs trustworthy: colour that matches the pot in daylight, and a stated size. Neither is a photographic skill.
Correct colour against the pot itself, not against what looks appealing on screen. A glaze that reads warm orange in the photo and grey-brown on the shelf is a returned order. Put dimensions in the caption rather than implying scale with a coin or a hand.
Then keep the files with the rest of the studio's record habits and the practice log that tracks what is improving. Materials notes belong with them, so a glaze that photographed well can be repeated from the materials you chose in the first place.
Common questions
Why do my glazes look wrong in photos?
Automatic white balance guesses from whatever fills the frame, and a pot on a sweep fills very little of it. A gray card shot in the same light removes the guess. Fix the balance once, then shoot the whole batch without changing it.
How do I stop reflections on a glossy glaze?
Move the light further away and diffuse it, and watch what is behind the camera. A shiny pot reflects the room, so a large white card or a plain wall behind you is usually the fix.
Is a phone camera enough?
Yes, with a tripod mount, a fixed white balance and no flash. Lighting and background matter far more than the sensor. A phone on a tripod in one overhead light will beat a camera held by hand in mixed room light.