Guides
Part of A planning checklist for turning a spare room into a pottery studio
Why can a weekend of pottery studio practice only finish one form?
Two days of pottery practice that respect how slowly clay dries: what to make, what to skip, and what has to wait until the following weekend.
A weekend is enough time to build real skill and not enough time to finish anything. Clay dries on its own schedule, and drying is the part beginners try to hurry. This plan works with that rather than against it.
What to take away
- Plan a weekend around forming and drying, and accept that firing happens later.
- Repeat one form many times. Variety teaches less than repetition at this stage.
- Keep the first pieces simple: no handles, no lids, one glaze color.
- Wrap and slow the drying. Most weekend work is ruined on Monday, not Saturday.
Why two days cannot include firing
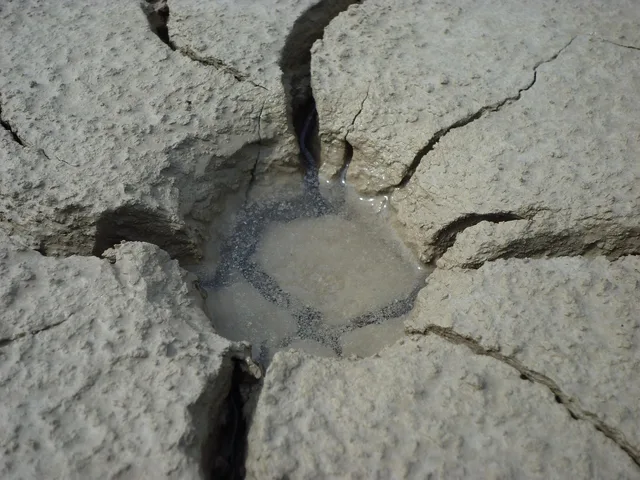
Drying is a physical process with a fixed cost. Museum conservation material on ceramic objects notes that up to a quarter of the water in prepared clay leaves during air drying. It also notes that the drying and firing sequence is a series of controlled steps that cannot be compressed.
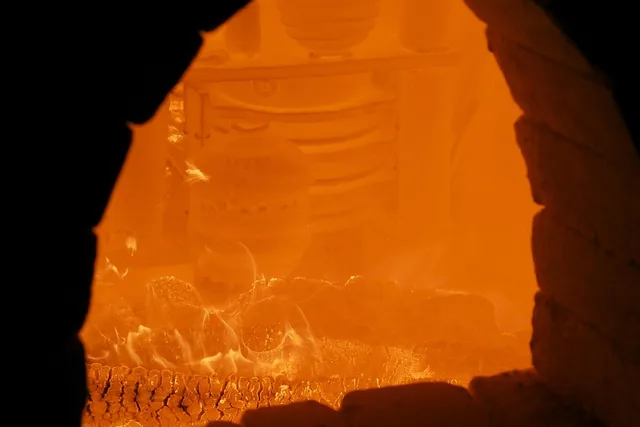
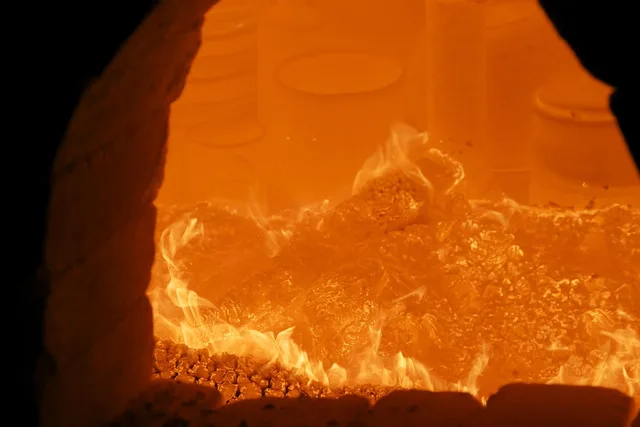
Kiln temperature stages
- 200-600Cvegetal matter burns off
- 400-700Cclay loses structural water
- 700-900Ccarbon and sulfur burn out
- After 900Csintering begins
A pot that goes into a kiln still holding water can turn that water to steam and break apart. So the honest weekend plan ends with wrapped, slowly drying work and a note of what to do next week.
Saturday: one form, many times
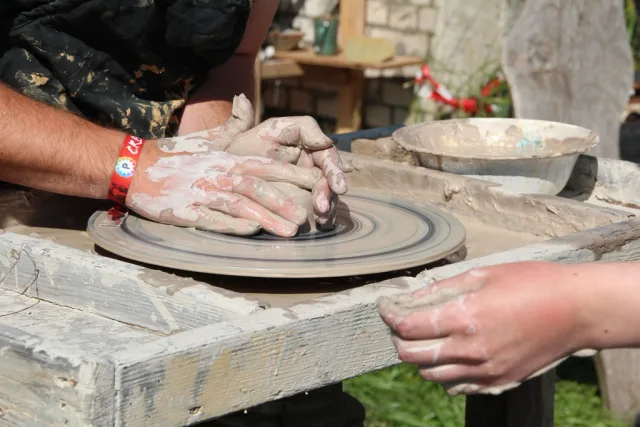
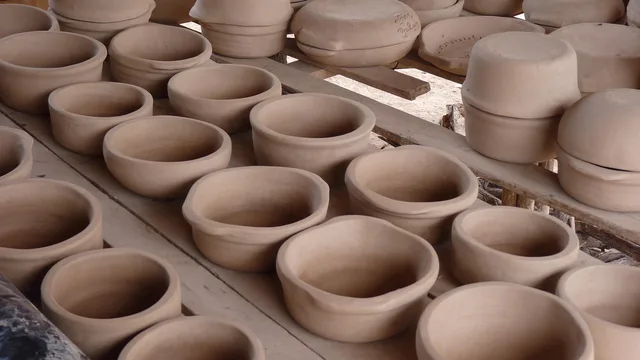
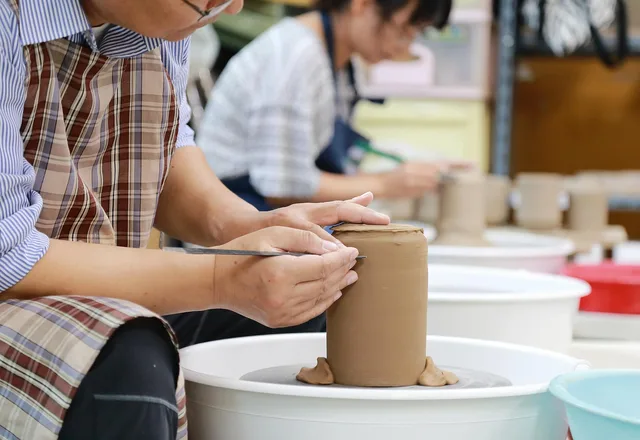
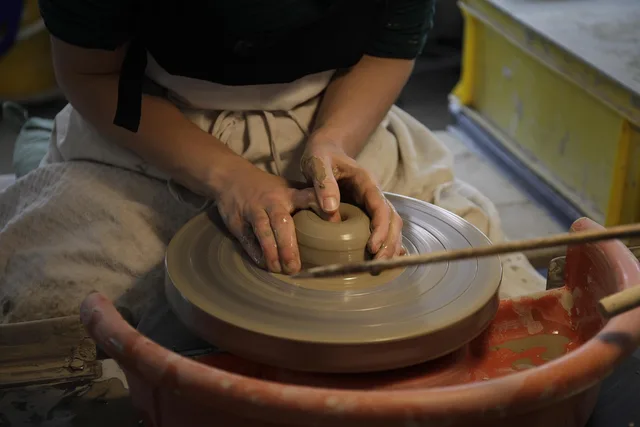
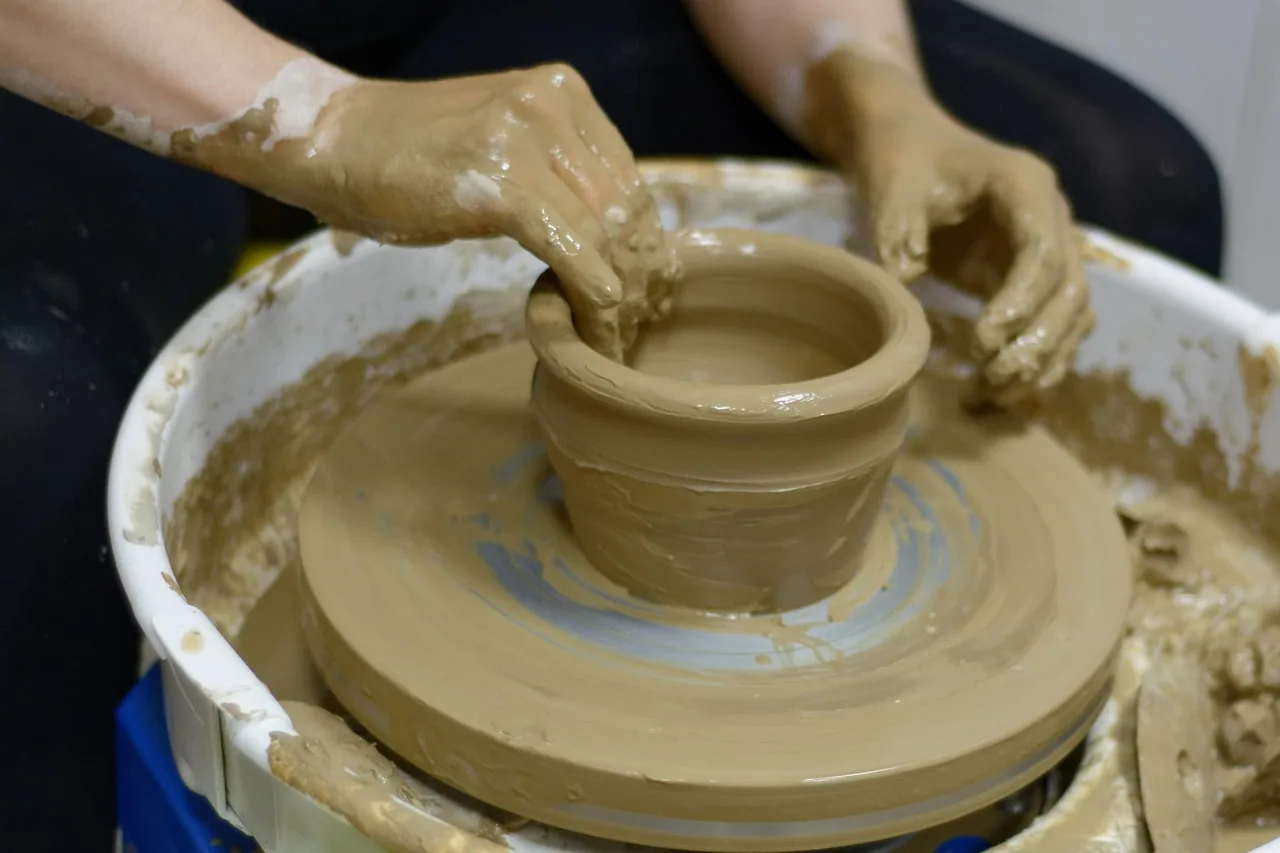
Pick a single form and make it repeatedly. A cylinder for wheel work, a pinch bowl for hand building. The value is in the tenth one, not the first.
| Block | What you do |
|---|---|
| Morning | Wedge a full bag. Make six of the same form. |
| Midday | Clean everything wet. Eat outside the studio. |
| Afternoon | Make six more, aiming at matching the best of the first six. |
| End of day | Wrap loosely in plastic. Wet-clean the room. |
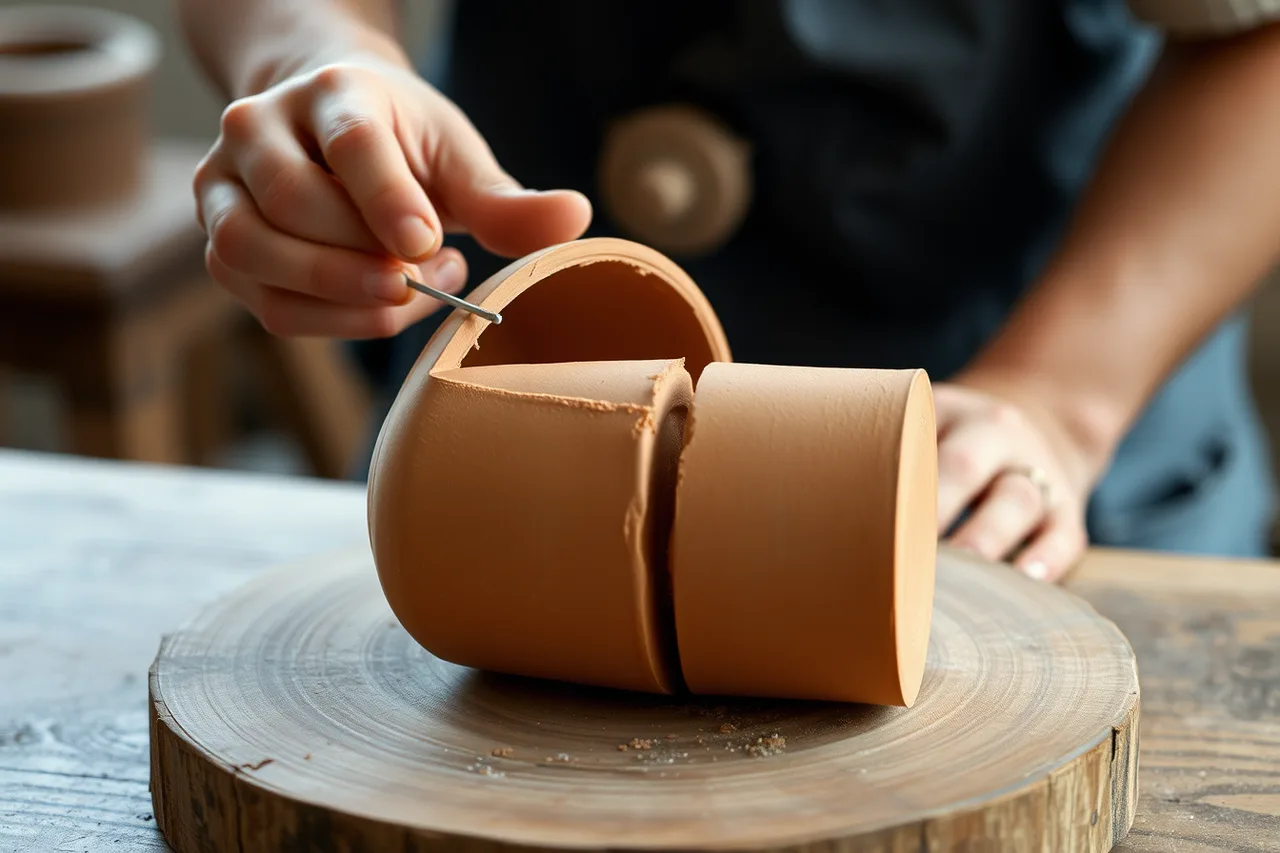
Cut two of the morning pots in half with a wire and look at the wall thickness. That single act teaches more than another hour of making.
Sunday: refine, then stop
Sunday morning the work is leather hard, the only window for trimming, joining and any surface carving. Smooth with a damp sponge rather than sanding. Then stop making and spend the last hour on the boring half: labeling, wrapping, wet-cleaning, and writing down what you did.
Extension project guidance for beginners follows the same order of difficulty. The 4-H ceramics ladder starts with one hand-built piece by pinch, coil or slab, a single glaze color, and no handles or lids.
Later levels add colors, texture techniques and detail work. Handles and lids are where beginners lose pots, because both add joins and uneven drying.
What to carry into the next weekend
Keep a page per session: clay body, form, what failed, and how long drying took in your actual room. Over six weekends that becomes a usable record. Photograph the results as you go, using the same lighting and color setup each time so the pictures are comparable, and slot the practice into whatever studio arrangement you are building toward.
Common questions
How much clay should I buy for a first weekend?
One bag. Twenty-five pounds is more than enough for two days of repetition, and reclaiming what you do not keep costs nothing but time.
Can I dry work faster with a fan or a heater?
Not evenly, and uneven drying is what cracks pots. Rims and handles dry first and pull against the wetter body. Slow, covered drying is what prevents that.
Is it worth practicing without a wheel?
Yes. Pinch and coil work teaches wall thickness, joins and drying behavior directly, and every one of those skills transfers to the wheel.
What should I do with the failures?
Reclaim anything that has not been fired. Cut a few open first and look at them. Failed pots are the cheapest teaching material you will ever have.