Features
Ceramics projects sized for one kiln shelf, chosen to build skill fast
Fifteen small ceramics projects that fit a single kiln shelf, grouped by the skill each teaches, with the wheel faults and glaze defects that show up most often.
What to take away
- Fifteen projects fit one shelffour thrown, four hand-built, three finishing drills, four glaze tests.
- Make eight to twenty of one project, not one each of fifteen.
- Bisque and glaze firings each take about three days.
- Name five faultsS-crack, throwing rings, crazing, pinholing, crawling.
- Vent the kiln and wet-sweep clay dust.
The fifteen projects, group by group
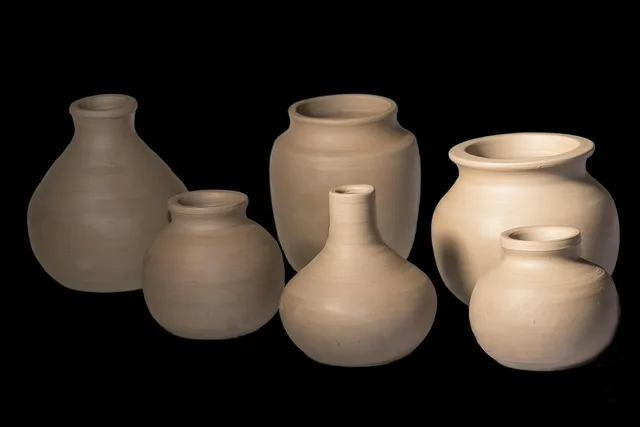
Small here means a dozen pieces on one shelf, each light enough to lift in one hand. Each group below states its own count, so the fifteen add up on inspection.
If you would rather build your own drill, the method behind single-skill projects shows how to isolate one decision per piece.
Fifteen projects by skill
Wall and thickness
- Project 1
- Pinch bowl
- Project 2
- Small cylinder
- Project 3
- Beaker
- Project 4
- Four matching cups
Joining and drying
- Project 1
- Lidded box
- Project 2
- Teapot spout test
- Project 3
- Handled mug
- Project 4
- Bud vase with foot
Surface and glaze
- Project 1
- Tile set
- Project 2
- Four-thickness tiles
- Project 3
- Sgraffito dish
- Project 4
- Stamped inlaid coaster
Function and fit
- Project 1
- Spoon rest
- Project 2
- Berry colander
- Project 3
- Small planter
- Project 4
Wheel forming and centering, four projects
- Straight-walled cup, 8 to 10 cm tall. Compress the base to stop S-cracks.
- Small bowl, about 12 cm across, thrown and trimmed true.
- Four to six identical tumblers. Matching rims and walls teach even pressure.
- Two-cup pitcher with a pulled handle. Pulling it is the lesson, not the body.
Hand-building and joining, four projects
- Pinch pot finished with a rolled rim, so the edge thickens evenly.
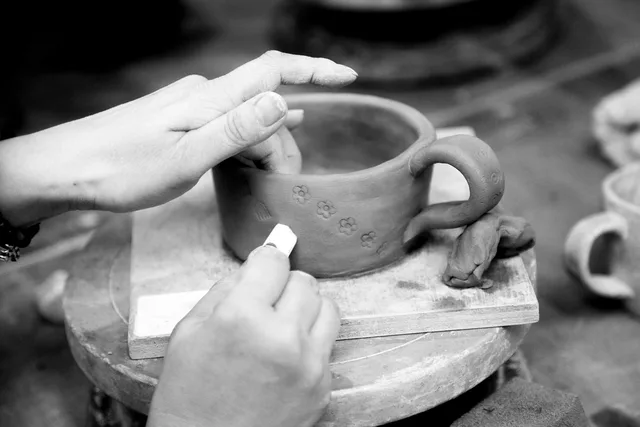
- Coil-built mug. Score and slip each join or the coils split while drying.
- Square slab dish with mitred corners, joined while the edges are soft.
- Slab spoon rest, about 12 cm, because flat work shows warping early.
Trimming, handles and fit, three projects
- Foot ring trimmed on a leather-hard bowl. Trim late and the rim distorts.
- Pulled handles practiced alone, five at a time, from one lump.
- Lidded jar with a gallery and flange, to learn the clearance a lid needs.
Surface and glaze, four projects
- Test tile set, one glaze at four thicknesses, numbered on the back.
- Sgraffito dish. Draw through the slip to the body underneath.
- Stamped and inlaid coaster. Fill the stamp with slip and scrape it flush.
- Wax-resist cup. Wax the pattern, glaze over it, read the negative space.
Six hand tools cover most of these, and the beginner tool kit sets out what each one is for.
Why the firing cycle rewards small work
Pottery is mostly waiting. A published course outline of the stages from wedging to glaze firing places bisque near 1800 F, close to cone 04, across about three days with loading and cooling.
A glaze firing follows near 2350 F over another three days.
One firing cycle
- Bisque firingabout 1800 F, three days
- Cooling and glazingbetween the two firings
- Glaze firingnear 2350 F, three days
- Total per batchmost of a month
Small pieces do not shorten that cycle. They fit twenty variations into the same month instead of two.
Five stages and the failure at each one
| Stage | The decision that matters | Common failure |
|---|---|---|
| Forming | Even wall thickness | Thin rim over a heavy base |
| Drying | Slow, and covered | Cracks at joins and handles |
| Bisque | Bone dry before loading | Steam blows the piece apart |
| Glazing | Thickness, and a clean foot | Glaze runs onto the shelf |
| Firing | The right cone for the body | Underfired, porous ware |
Two of the five rows are drying and firing. The mistakes beginners make at home cluster there rather than at the wheel.
Wheel faults and glaze defects to expect
S-cracks begin in a base that was never compressed. Throwing rings come from uneven finger pressure and only show after firing. A rim thicker than the wall dries slower and splits.
Glaze faults read differently. Crazing is a network of fine cracks. Pinholing is a pitted surface left by escaping gas. Crawling leaves bare patches where the glaze pulled back. Any of the three makes a food-contact surface questionable.
Run a draw trial in every glaze load
- Press a groove into a small tile made from the clay body you are firing.
- Load it where the peephole can see it.
- Pull it at temperature, cool it, and log the cone, glaze and result.
A tile costs a few cents of clay and turns a guess into a written record.
Siting the kiln, the circuit and the dust
A wheel, a bench and a shelf of greenware fit a spare room. A kiln needs more than space. Its circuit is set by the electrical code and the authority having jurisdiction, and OSHA's electrical standards describe the general requirements licensed work follows.
Kiln power, ventilation and glaze safety decide whether a home setup works at all. Bench height, greenware storage and lighting are a planning checklist for a spare room.
Dust is the other fixed cost. Dry clay and glaze powders carry silica, and NIOSH respirator guidance covers filter classes and fit testing.
Common questions
How small is small enough?
Can a beginner make food-safe ware?
Do small pieces need slower drying?
How many of one thing should I make?
In this guide
- Can you design a small ceramics project around a single skill?How to design a ceramics project around a single skill, using the sequence college handbuilding courses follow, so each piece answers one question.
- Small ceramics projects expert tips: recycle clay, control dustSmall ceramics projects expert tips for home studios: recycle clay properly, run one clay body, and control silica dust with wet methods and simple habits.
- Checklist for outfitting a first ceramics project with six hand toolsThe short tool list small ceramics actually needs, what each item does, and the studio machines you can ignore until the work outgrows your hands.
- Clay and Glaze Materials for Small Ceramics ProjectsClay and glaze materials for small ceramics projects: how silica, fluxes and alumina work, which raw powders are hazardous, and why glaze fit decides.
- 4 points on small ceramics projects that matterFour habits ruin more home ceramics than any skill gap: dry sweeping, rushed drying, glaze that does not fit, and small batches treated as small exposure.