
Reviews
Part of Pottery studio failures: underfiring, crazing, and how handling breaks pots
Work surface choice: how it heads off several common studio mistakes
A sealed plywood top for clay, a separate bench for plaster, and a ventilated glaze table away from dust keep a home studio clean. Matching each surface to one job stops water damage, plaster chips and contaminated glaze before they start.
What to take away
The main clay table wants a sealed plywood top, sized to fit the longest piece you wedge, on a rigid frame. Plaster gets its own bench, apart from clay, permanently. Glaze sits on a ventilated bench away from dust, and every surface should wipe clean while wet.
Start with the main work table
Size and height come first. Aim for a clear top long enough for the longest piece you wedge, with the working surface a few inches below your standing elbow. Check that the frame stays rigid when you press clay across it; a shifting bench makes wedging harder on the wrists.
Load ratings are published, so use them. Hubert lists a 24-by-24-inch Kratos worktable in 16-gauge 304 stainless, rated for 500 pounds. Its Flash Furniture table, 48 by 24 inches, has a 1.5-inch backsplash and an undershelf, and both are NSF listed.
Plywood takes screws, can be refinished and accepts a sacrificial cover; 3/4 inch is a common thickness. Seal every face and edge with polyurethane or two-part epoxy, and add hardboard where tools abrade.
What each surface choice prevents
Sealed plywood prevents the failure that ends most cheap tops: water reaching an edge, swelling the core and lifting the surface. A hardboard cover prevents tool marks reaching the structural sheet.
MDF is flatter than plywood, which prevents a rocking wedging surface, but it swells at a wet edge; a sealed cover prevents that. Melamine and laminate prevent clay sticking and staining bare wood, though chipped corners defeat both.
Stainless steel prevents rot, delamination and rust staining; check the grade and gauge on the supplier's spec sheet before buying. A backsplash prevents spills running behind the table. Steel does not grip clay, so glaze work suits it better than wedging.
HDPE prevents water damage and rot outright and wipes clean, but it flexes, so a rigid frame prevents sag. Sealed concrete prevents a light bench from walking while you wedge; resealing prevents dusting once the sealer wears.
Canvas-covered board prevents fresh ware sticking to a wet top, but cloth traps clay dust, so keep canvas away from glaze mixing and clean it separately from bench tops. Plaster pulls water from clay, which is why it earns its own bench.
Why plaster works
The University of Utah materials engineering teaching lab explains the mechanism in its slip casting lesson. Slip in a porous mold loses liquid through the mold wall, drawn in by capillary action, the same force that pulls a drink up a straw.
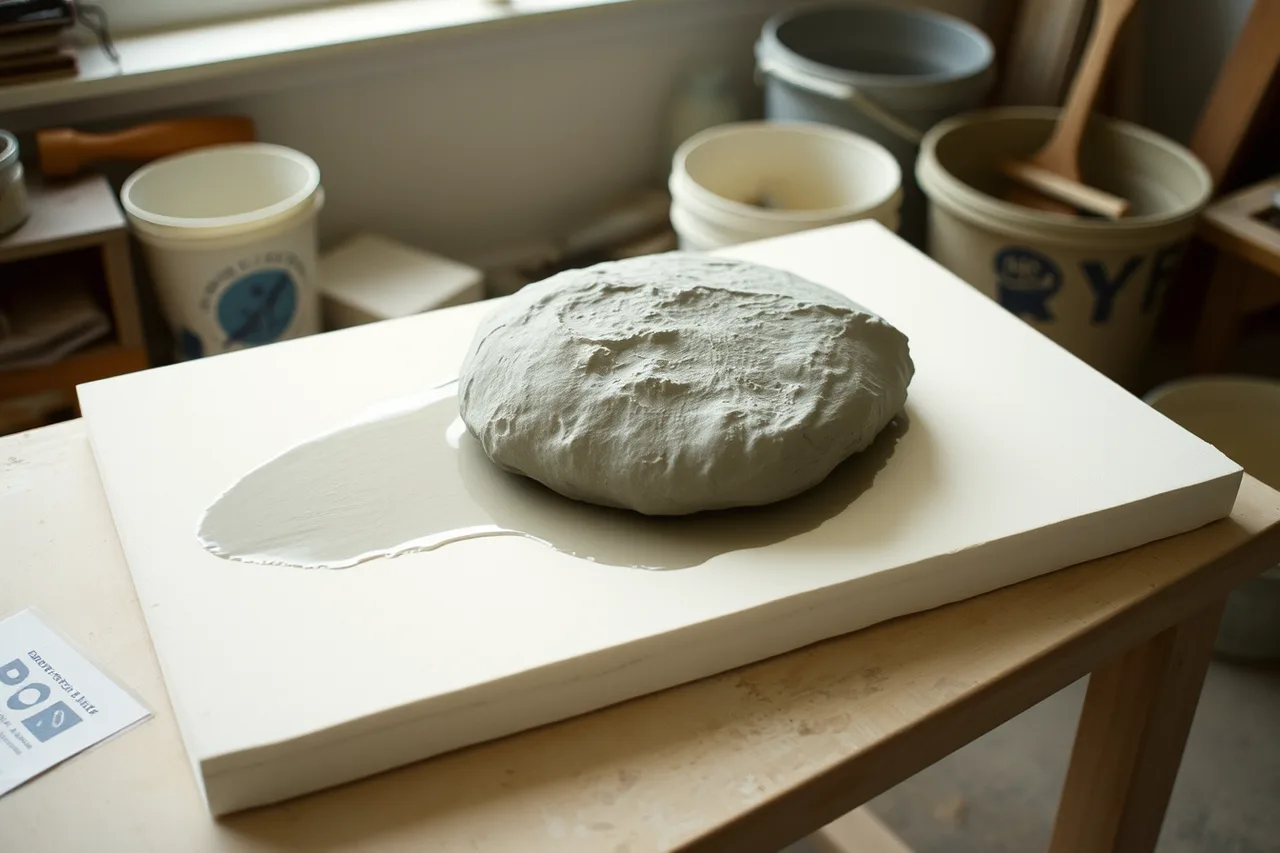
A wedging slab is the same physics without the cavity. It pulls water from clay at the contact face, which is why plaster stiffens clay as you work it, and why reclaim slop dries on plaster overnight.
Pick the plaster by product and ratio
USG makes the two grades most home studios meet. No. 1 Pottery Plaster is the stronger mold plaster; check the current compressive strength figure on USG's product sheet. USG Pottery Plaster is the economical all-purpose grade and produces more absorbent molds.
USG gives the ratio by weight: 70 parts water to 100 parts plaster for No. 1, and 65 to 100 for USG Pottery Plaster. USG calls the ratio critical because it governs strength and absorptivity.
Both grades show a Vicat set of 14 to 24 minutes, so plan a pour you can finish inside that window. Wear eye protection when mixing dry plaster, and never rinse it down a drain, where it sets solid.
Where to buy, and how to compare price
Hubert and RestaurantSupply.com are common starting points for stainless worktables; compare width, depth, gauge and load rating, and check the current price on the supplier's own site before ordering. Lumber yards and plastics fabricators cut sheet goods to size, and offcuts often cost less than a finished top.
Arrange surfaces so mistakes cannot happen
The layout rule is one job per surface. Plaster gets its own bench, wet pots wait on a rack beside the wheel, and glaze stays away from clay dust. Studios that mix jobs on one table are where plaster ends up in the clay.
| Surface | Placement rule | Mistake it prevents |
|---|---|---|
| Plaster slab | Its own bench, away from wet work | Plaster chips in fired pots |
| Sealed wareboard | Next to the wheel, on a rack | Carrying wet pots by hand |
| Wipeable table | Clear floor on all sides | Dust that cannot be cleaned |
| Reclaim station | Next to the plaster, with a lid | Scraps drying on the floor |
| Glaze bench | Away from clay dust, near ventilation | Contaminated glaze buckets |
The habit that makes it work
Wipe every surface with a wet sponge at the end of a session, while the residue is still soft. If clay dries on a table, cleaning raises dust instead of lifting it, and that dust settles on everything else in the room.
Repeated every session, the discipline behind the failure mechanisms worth avoiding and the surface choices of a first setup carries over to tools, glaze and storage.
Common questions
How do I know when a plaster slab is worn out?
When the surface no longer draws water quickly, or when it chalks under a fingernail. A slab that sheds particles is a contamination risk and should be replaced. Do not seal a soft surface: sealing stops the absorption that makes plaster useful.
Can I dry plaster slabs in the oven?
Yes, but keep the temperature at or below 120°F (49°C). Above that, plaster can calcine and lose the absorption that makes it useful, according to USG. Dry slabs in a warm room or at that low oven setting, and store them indoors away from drafts.
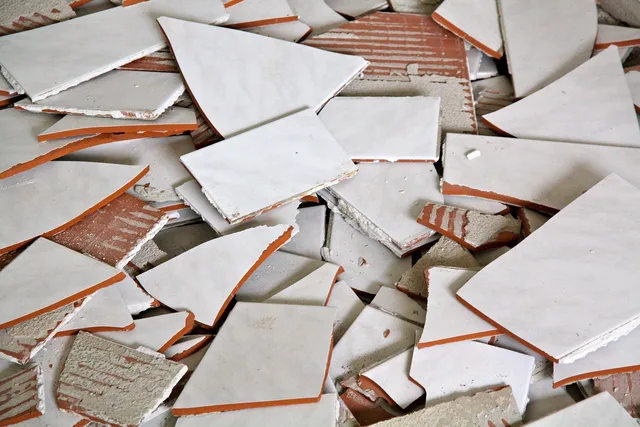
![These shards of broken pottery likely date to the Song Dynasty. They were prized for their rich blue and purple colors. The shards were collected and mounted to show off their coloration. This may have taken place at the end fo the 18th century during the Qianlong [Ch'ien-lung] emperor's reign. Why treat pottery losses as a line item in the supply budget?](/covers/how-to-price-supplies-for-pottery-studio-mistakes-640.webp?v=18803534)